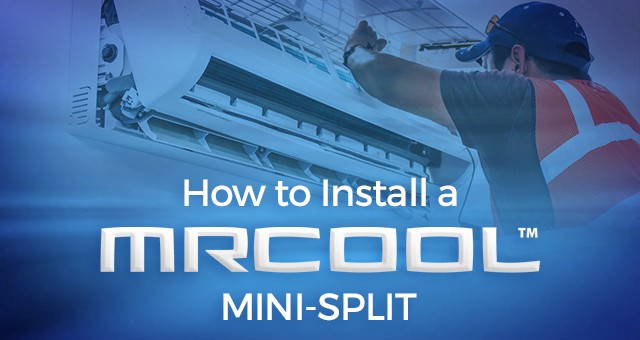
So your new MRCOOL DIY 4th Generation Mini Split has arrived, and you’re ready to start creating a more comfortable space in your home? But first, you have to install it. Don’t worry, though; MRCOOL specifically designs its units for quick do-it-yourself installation.
Refer to the installation guide included with your mini-split and follow our steps below to make installing your mini-split as simple as possible.
-
Before You Start
-
Step 1: Find Your Installation Location
-
Step 2: Install the Mounting Template
-
Step 3: Prepare the Wall Sleeve
-
Step 4: Mount the Air Handler
- Step 5: Secure the Air Handler
- Step 6: Set-Up Refrigerant Lines
- Step 7: Wire the Unit
- Step 8: Finish Up
Before You Start
Before you get started with installation, you’ll want to make sure your outdoor and indoor units match and unpack the indoor unit to ensure you have all of the required parts. There should be a parts list inside the box.
Tools Needed
- Stud Finder
- Drill
- Level
- 3.5-Inch Hole Saw
- Adjustable Wrench
Step 1: Find Your Installation Location
Once you've found the right spot in your space to install the mini split, use the included wall template to measure where you would like to place the indoor air handler.
Using a level, make sure the wall template is level. Then, use a screw drive to mark your drilling points through the wall template.
Pro Tip: Use a stud finder to find the best spot for the mounting plate.
Step 2: Install the Mounting Template
With a drill or screwdriver, detach the mounting plate from the back of the indoor air handler.
- Line Up the Plate: Using the markings you previously made on the wall as a guide, line up the mounting plate.
- Secure the Plate: Attach the plate to the wall using the included hardware. Be sure to set a level on top of the mounting plate to ensure the plate doesn't slope.
Step 3: Prepare the Wall Sleeve
After you've secured the mounting plate, use a 3.5-inch hole saw to drill through your wall. Push the provided wall sleeve through the wall.
Pro Tip: Note how far the wall sleeve sticks out on the other side. Use a knife or saw to trim it so that it fits flush with the wall.
Step 4: Mount the Air Handler
It's almost time to mount the indoor air handler to the wall. Just a few more items remain:
- Feed the Communication Wires: Take the air handler's communication wires and feed them through the wall sleeve to the outside.
- Bend the Refrigerant Piping: Once most of the communication wire is through the sleeve, slowly bend the piping on the back of the handler until it is sticking straight out. Pass the refrigerant lines, the drain hose and the remaining communication wire through the sleeve.
- Connect the Air Handler to the Wall: The top of the air handler should hook on top of the wall bracket, and the bottom should snap into place.
Step 5: Secure the Air Handler
Now it's time to move outdoors. Outside, slowly bend the refrigerant lines so that they fall downward along the wall. Then, add the included protective neoprene inside the wall sleeve and around the line set. Put the wall sleeve cover in place and connect the condensate drain hose securely.
Step 6: Set-Up Refrigerant Lines
Uncoil the line set that came with the condenser, only uncoiling the amount you think will be needed to reach from the air handler to the condenser. Now:
- Connect the Lines: Unscrew the color-coded caps on the ends of the refrigerant lines and thread them together by hand. Then, use two wrenches to ensure they are connected tightly. Repeat the process with the refrigerant lines at the condenser.
- Open the Valves: Remove the condenser valve covers. Then, using the Allen wrench provided, open the valves by turning the wrench counter-clockwise until it stops.
- Check for Leaks: Use soapy water to check for leaks at both the condenser and air handler refrigerant connections. Then, replace the valve covers.
- Wrap the Connections: Use sound-reducing pads to wrap the refrigerant connections near the air handler and then wrap them with the included vinyl tape.
Step 7: Wire the Unit
Before wiring the unit, note the voltage for each system. The wires are labeled and correspond by color and number.
Note: It's recommended that you hire an electrician for this portion of the installation.
Step 8: Finish Up
You did it! You've installed your MRCOOL mini split. Just a few items need to be checked off before turning the unit on.
- Insert the Smart Controller: Don't forget to insert the MRCOOL Smart Controller so that you can operate the unit with your phone.
- Install the Air Filters: Be sure to install the included air filters inside the indoor air handler.
Still Have Questions?
Keep in mind these are general tips for installing a MRCOOL mini-split system, and your model may have slightly different directions. We hope you enjoy your mini-split air conditioner. If you have any questions about installation, feel free to call our air conditioner experts at 1-800-934-9194.