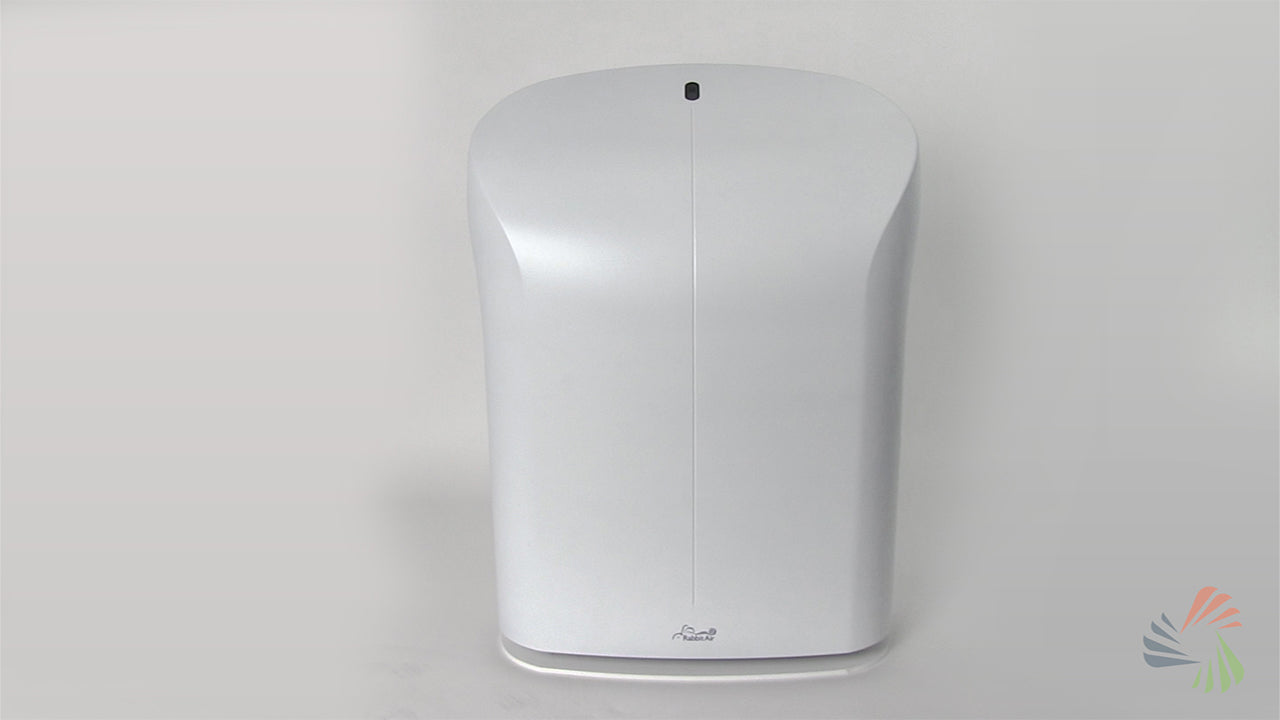
So you need to replace the filters in your Rabbit Air BioGS HEPA Air Purifier Model SPA-625A. How do you do it? Installing the Rabbit Air BioGS 2.0 Replacement Filter Kit is simple and only takes a few minutes. Follow our step-by-step guide to make installing the replacement filter kit as easy as possible.
Five Steps to Replacing Rabbit Air BioGS HEPA Air Purifier Filters
- Step 1: Expose the Filter Case and Remove Current Filters
- Sep 2: Insert BioGS HEPA Filter
- Step 3: Insert Activated Carbon Filter
- Step 4: Insert Pre-Filter
- Step 5: Reattach Front Panel
Step 1: Expose the Filter Case and Remove Current Filters
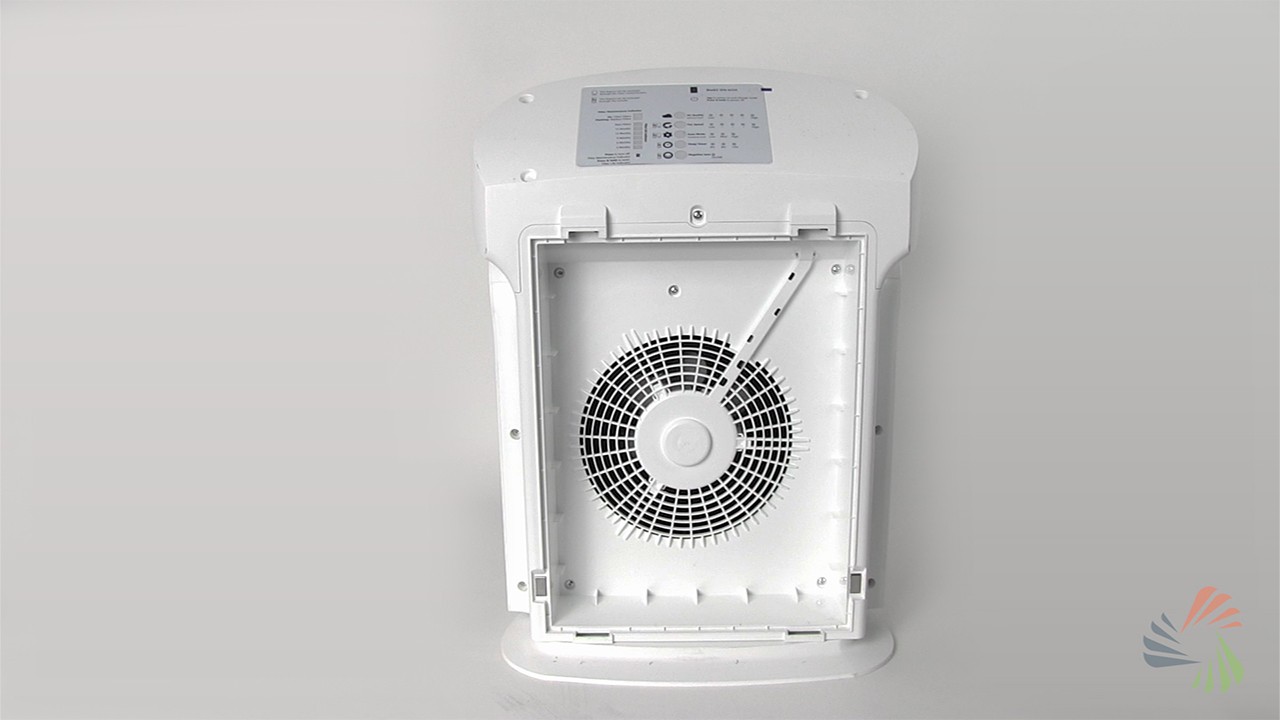
To expose the filter case, remove the front panel by lifting from the bottom and pulling up. Pinch the two tabs on top of the Pre-Filter to remove it. Pull out the Activated Carbon Filter and then remove the HEPA Filter.
Step 2: Insert BioGS HEPA Filter
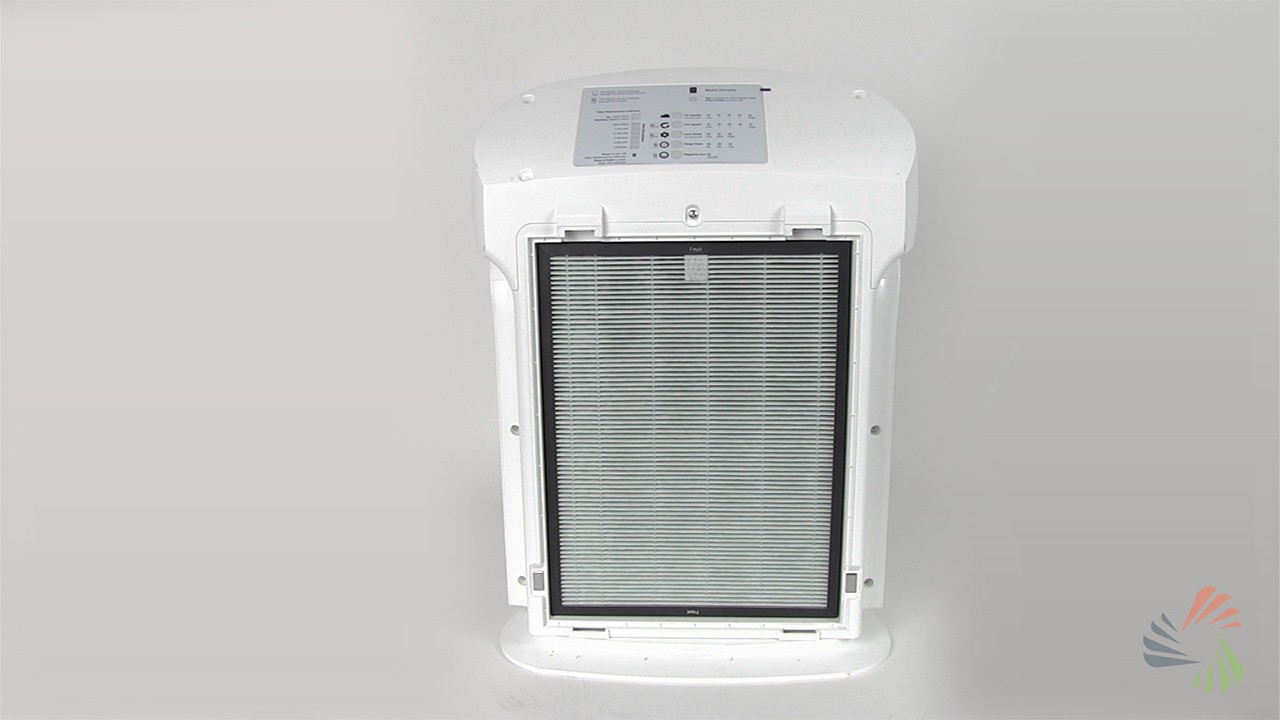
The first filter to be installed should be the BioGS HEPA filter. It should be placed into the back of the filter case.
Step 3: Insert Activated Carbon Filter
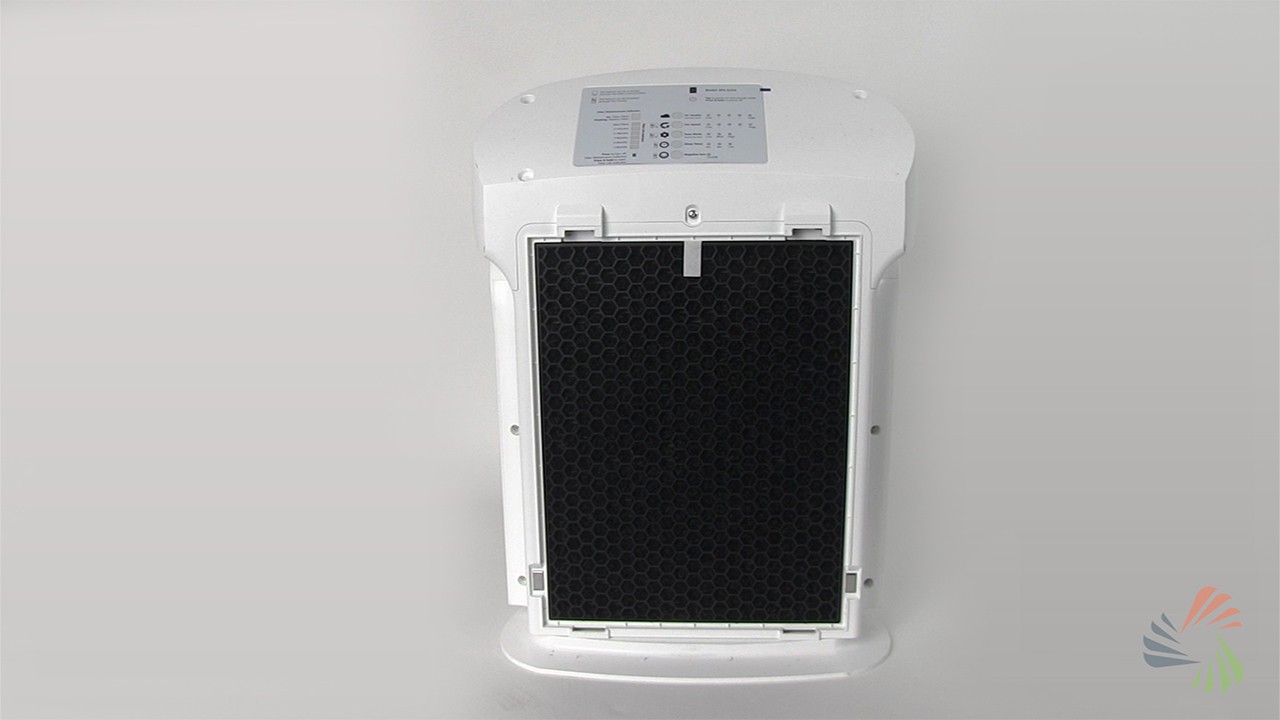
Next, the Activated Carbon Filter should be placed immediately next to the previously inserted BioGS HEPA filter.
Step 4: Insert Pre-Filter
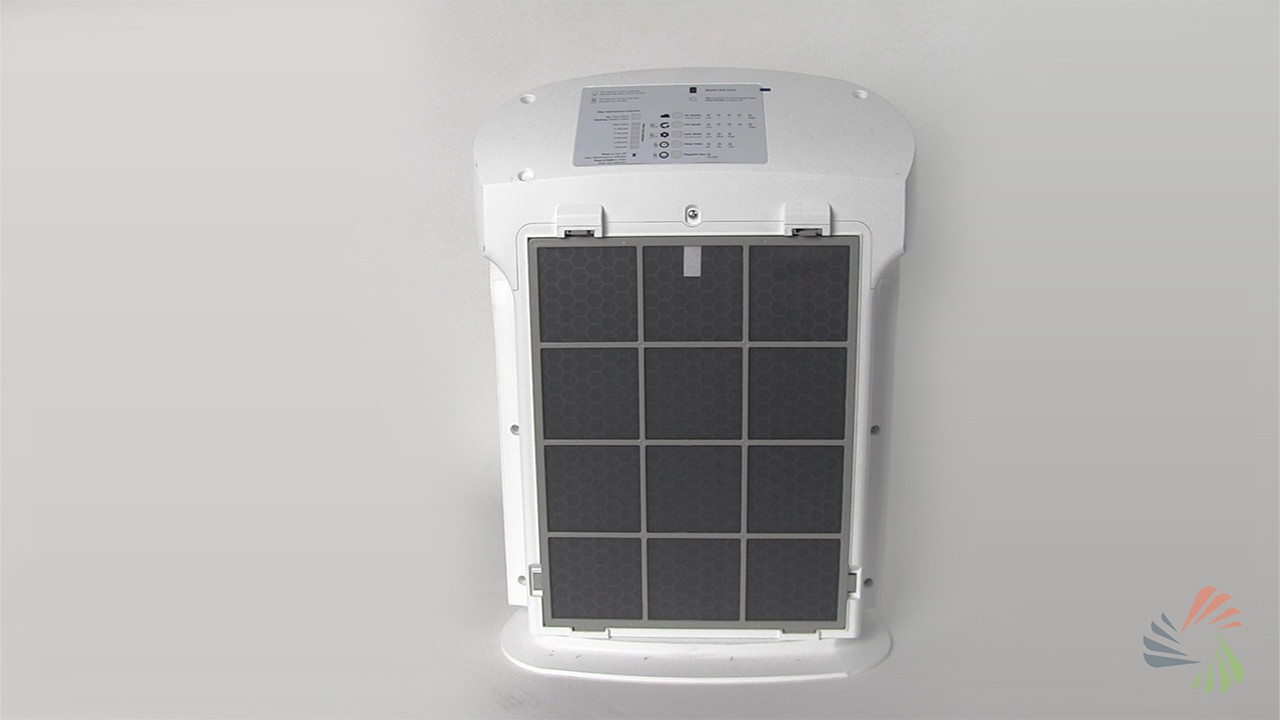
Insert the Pre-Filter by ensuring the bottom of the filter slides securely into the slots and that the top of the filter clips into the two tabs at the top.
Step 5: Reattach Front Panel
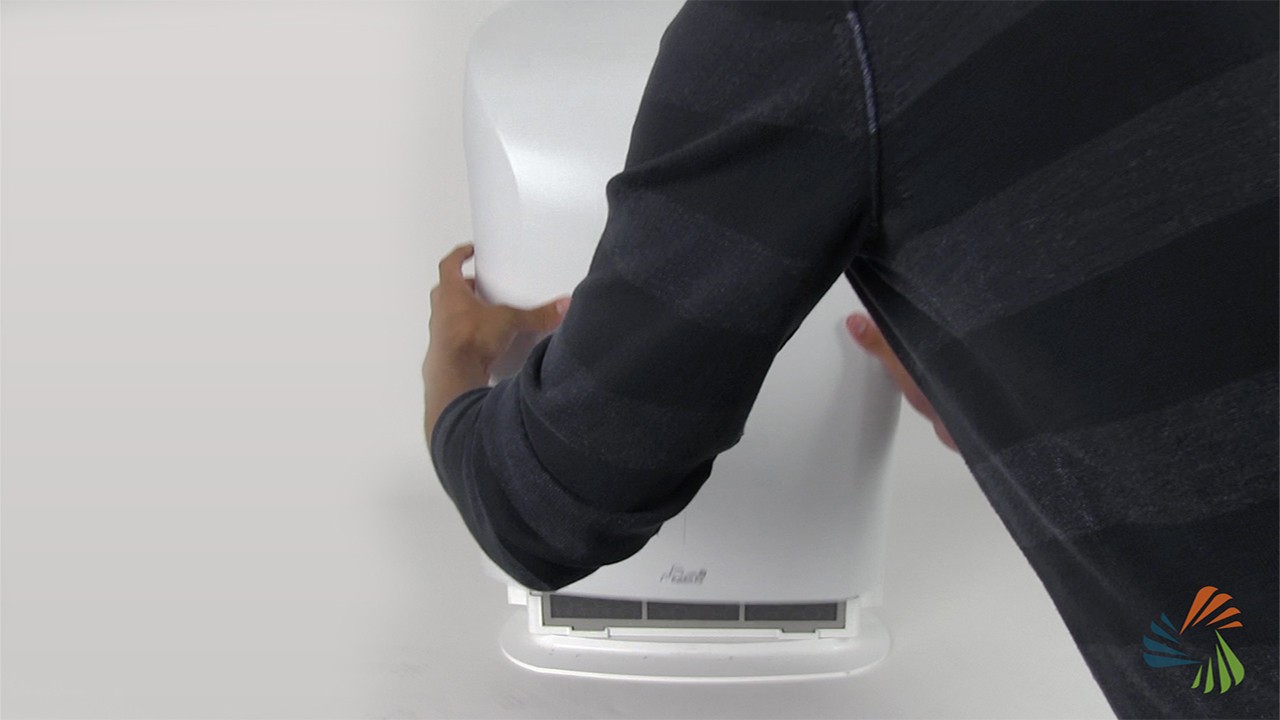
Securely reattach the front panel to the air purifier.
Your filter installation is complete. Plug in and turn on your Rabbit Air SPA-625A to begin cleaning your air.
If you have any questions about filter installation, feel free to call our air purification experts at 1-800-934-9194.
Browse our Air Purifier Knowledge Center for more information about using one in your home.

