Now that you’ve purchased your Rabbit Air MinusA2 Air Purifier, we’d like to take a moment to walk you through the steps of installing the replacement filters. Keep reading for a simple guide to installing filters in a MinusA2 Air Purifier.
Steps to Installing Filters in the Rabbit Air MinusA2
- Step 1: Remove the Front Panel
- Step 2: Remove the Filter Case
- Step 3: Insert Charcoal-Based Activated Carbon Filter
- Step 4: Insert the Customized Filter
- Step 5: Insert the BioGS HEPA Filter
- Step 6: Insert the White Medium Filter
- Step 7: Insert the Permanent Pre-Filter
- Step 8: Return the Filter Case
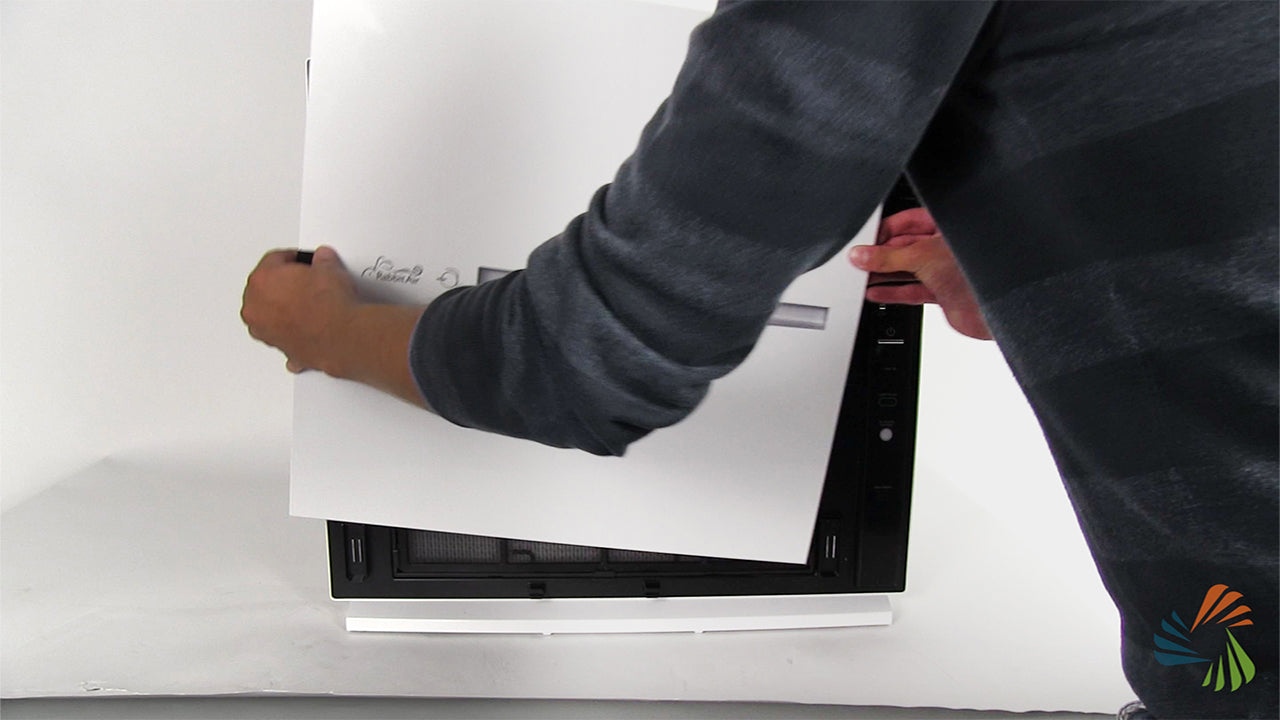
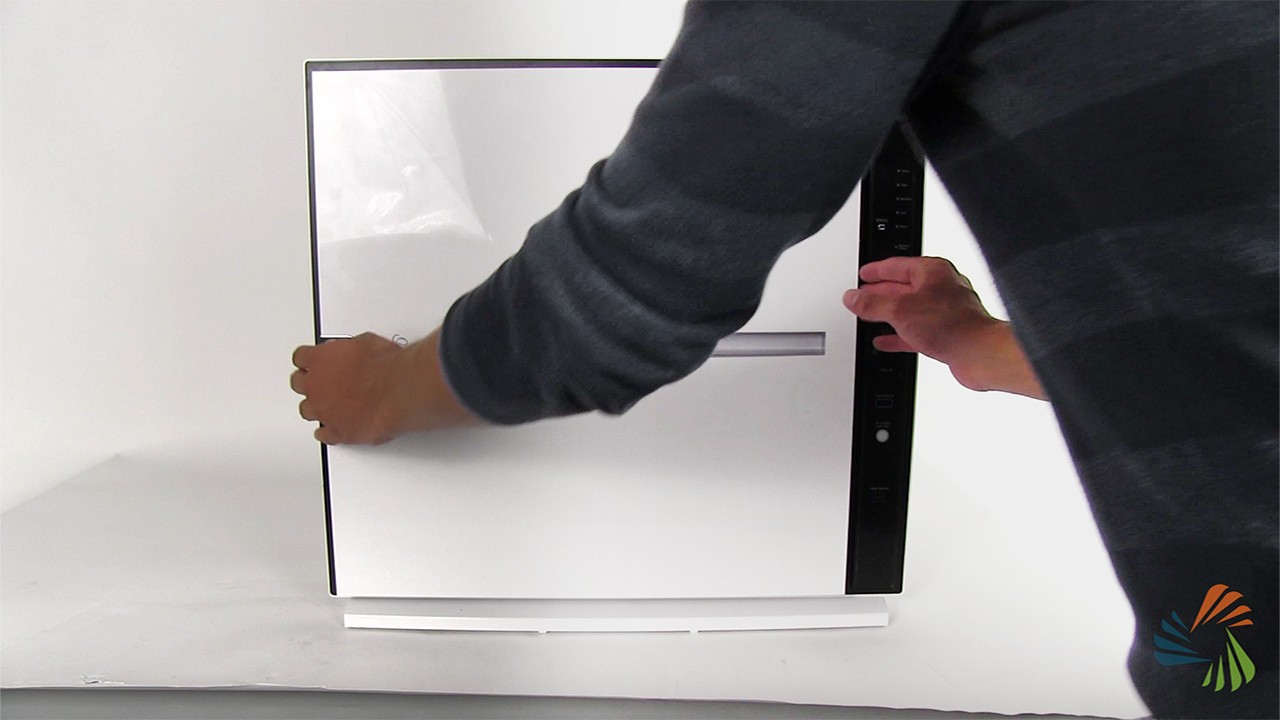
Step 1: Remove the Front Panel

To remove the front panel, lift from the bottom and pull up.
Step 2: Remove the Filter Case
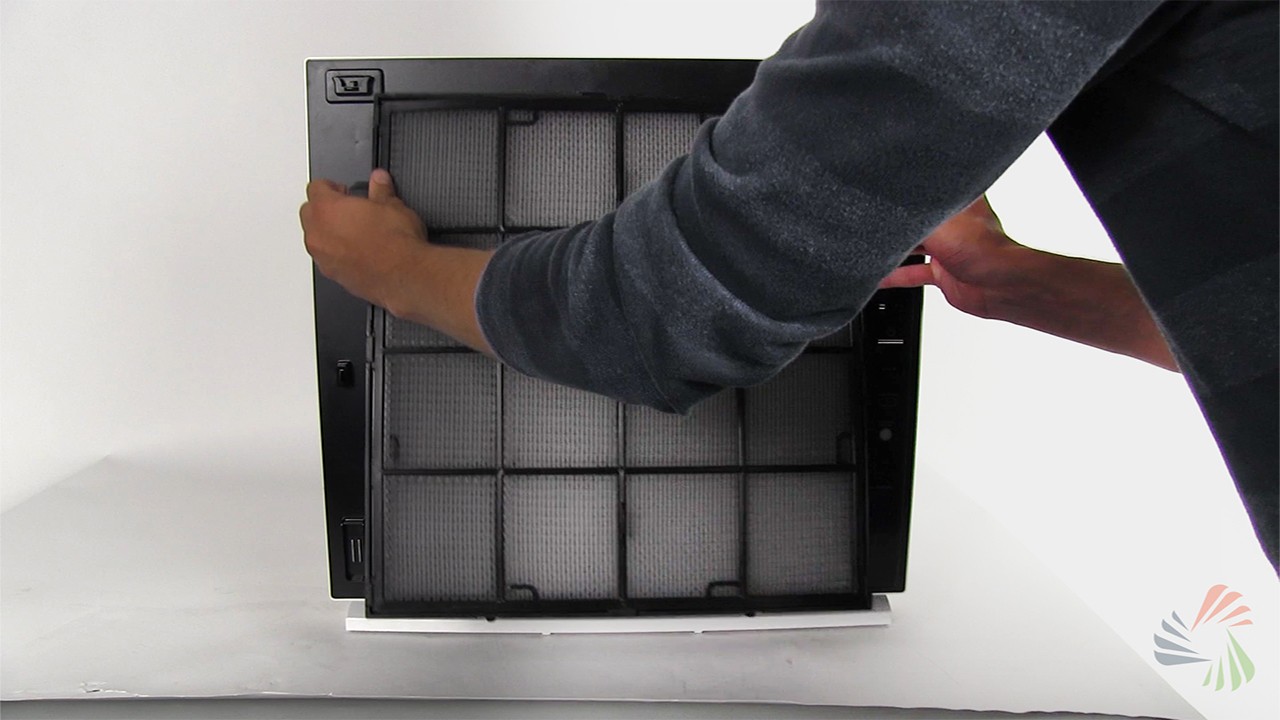
The Minus A2 has a total of 5 filters, which are located inside the filter case. Remove the filter case by grasping the handles on either side and pulling forward.
Lay the filter case on a flat surface and remove all five filters.
Step 3: Insert Charcoal Based Activated Carbon Filter
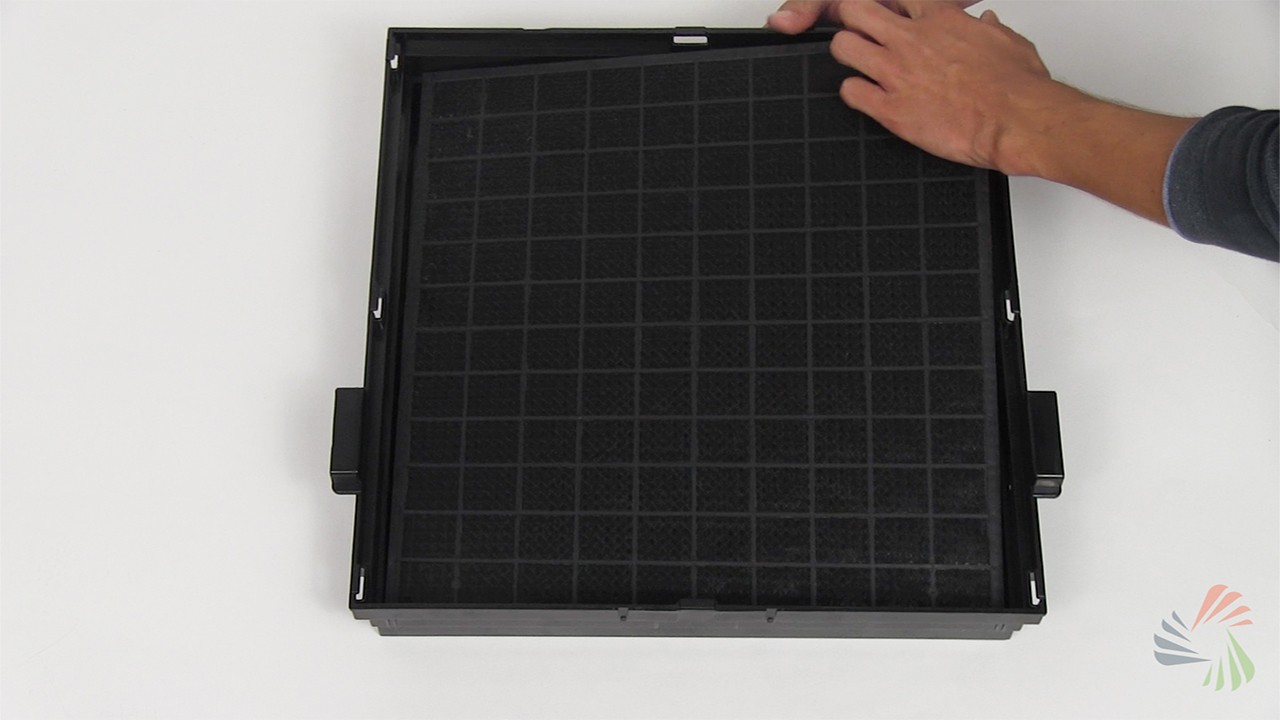
The first filter to go in is the Charcoal-Based Activated Carbon Filter. It’s the black filter with tiny pieces of charcoal inside.
This is a directional filter, meaning that it must face a certain direction in order to trap pollutants. You will see the word front located at the top border of the filter. The word 'front' should be facing up. This means the front of the filter will be facing you as you install it.
Step 4: Insert the Customized Filter
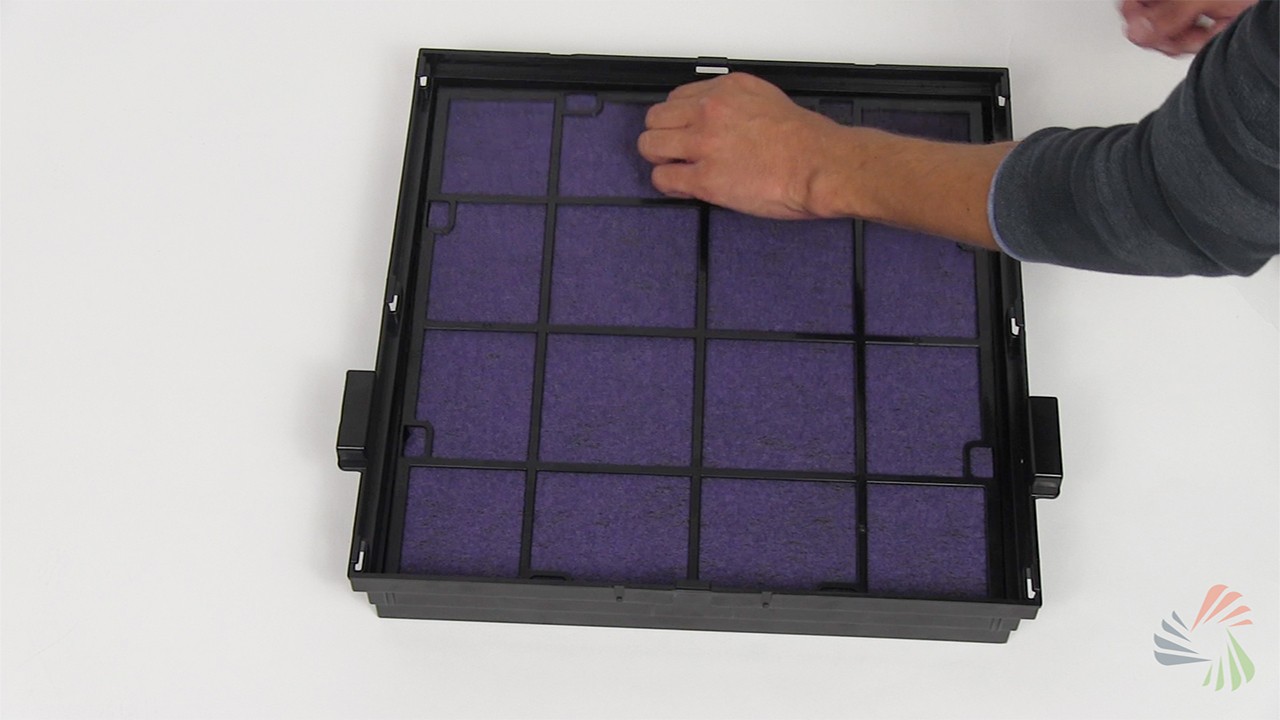
Next, it’s time for the Customized Filter. This filter is also directional. Depending on which customized filter you have, the colors will indicate which is front and which is back. You will either have the germ defense, pet allergy, toxic absorber, or odor remover customized filter.
This filter will need to be placed in one of the black filter frames. The customized filter frame is the smaller of the two filter frames. Take your customized filter and install it into the filter frame.
Step 5: Insert the BioGS HEPA Filter
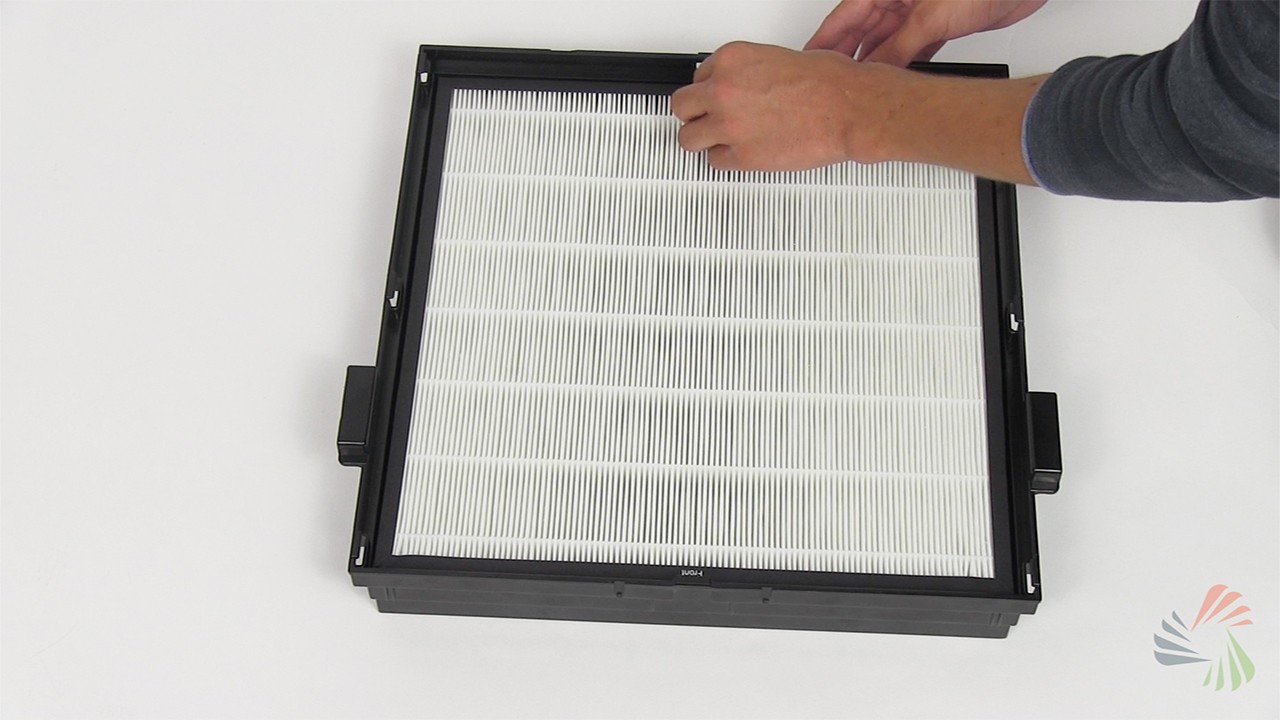
Next is the BioGS HEPA Filter. This filter can be identified by its accordion-like structure. This is a directional filter; the word front, accompanied by a small white tab, will indicate which side is facing up.
Step 6: Insert the White Medium Filter

You will notice that you still have one filter frame remaining; this is for the White Medium Filter. This is not a directional filter. Simply slide it into the frame.
Step 7: Insert the Permanent Pre-Filter
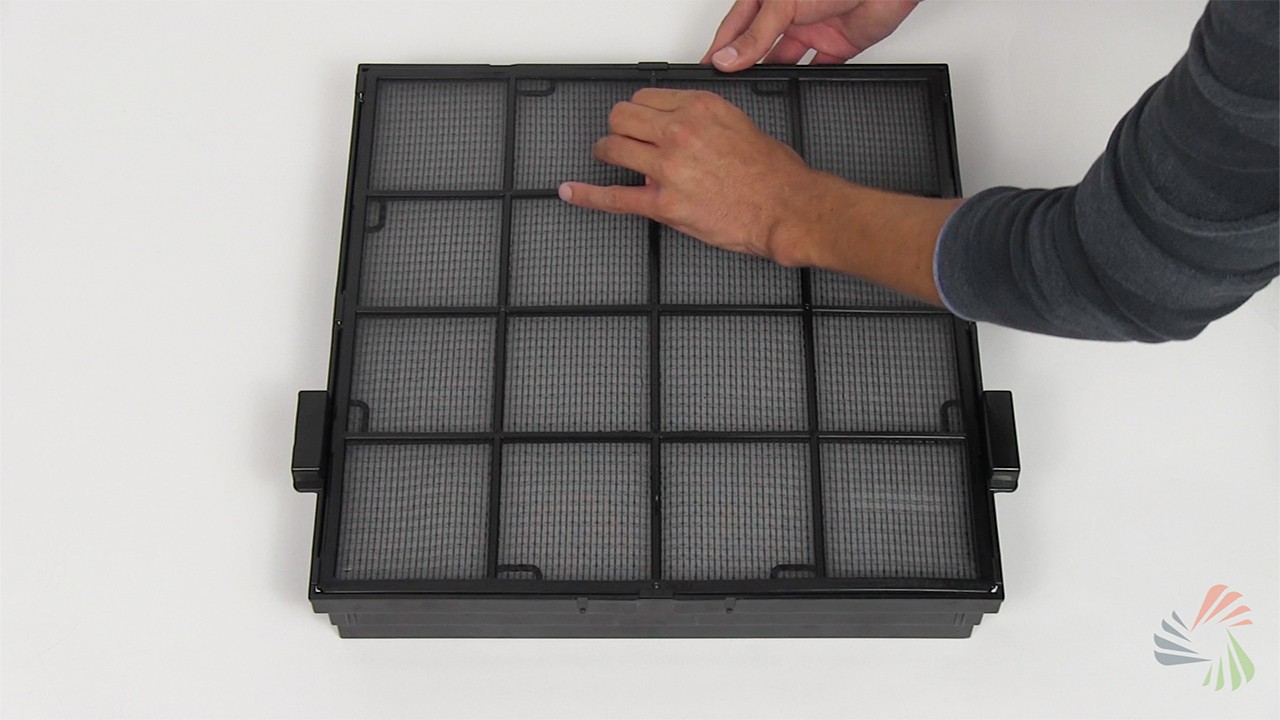
Last is the Permanent Pre-Filter. This is the black screen-like filter that has two tabs on the front. When placing this filter into the filter case, make sure that all tabs are snapped accordingly.
Step 8: Return the Filter Case
Return the filter case and place the front panel back onto the air purifier. You can reattach the front panel by latching the two top hooks and then securing the bottom of the panel.
You’ve finished installing the Rabbit Air MinusA2 filters. Sit back, relax, and enjoy clean, fresh air.
If you have any questions about filter installation, feel free to call our air purification experts at 1-800-934-9194.
Browse our Air Purifier Knowledge Center for more information about using one in your home.